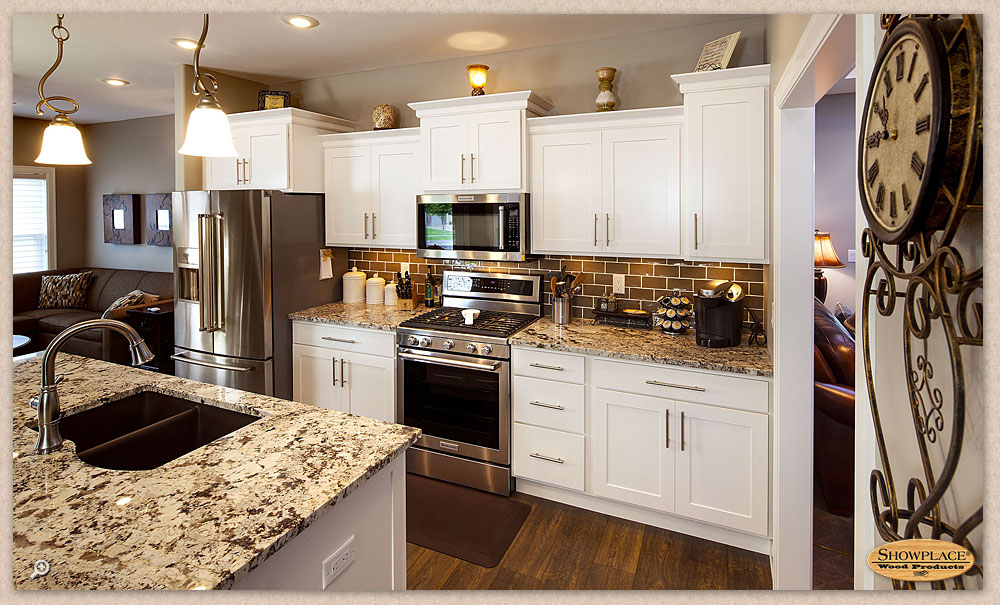
There is a lot to be said for experience and technology in making your
new kitchen a reality. The Kitchen Design Center can help. We
offer free design and layout tips. Please print out this design
form and complete to assist you with gathering the information you will
need to get the kitchen of your dreams.
DESIGN FORMHere at
Kitchen Design Center we will help you get the most for your money. We know the
shortcuts to take and which to avoid to help maximize your kitchen's
style, beauty and performance.
Some of the first things you will need
to know about your room are the dimensions. If you are building,
your builder or architect can provide you with a set of plans.
These plans provide all the information you will need.
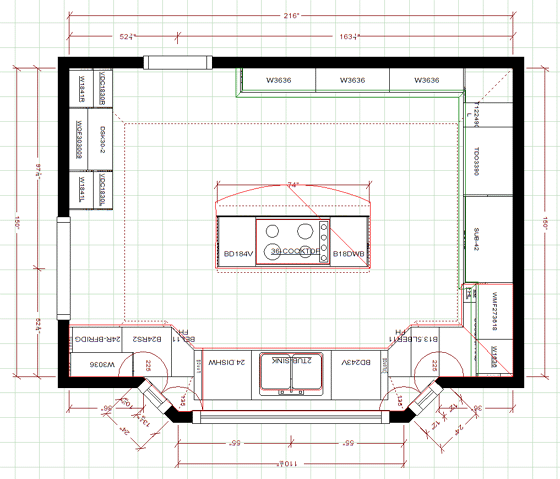
If you are remodeling, measure your
space carefully, create a sketch of the room, and note the location of
all the appliances, plumbing, electrical outlets, light switches,
windows and doors. When measuring, include the outside or finished
dimensions of every item in the room.
How
to measure your kitchen
1. Start in one corner of the room. Select a wall and
measure the distance of every item on that wall from the corner.
Write all the measurements on your sketch.
2. Go to the next corner and locate every item on the
next wall in relationship to that corner.
3. Continue around the room until everything is
located, measured and marked on your sketch.
4. Jot down the overall length of the walls, height of
the room and distance of every item from the floor - like outlets, light
switches, and ledges or soffits.
Measuring
for windows and doors
1.
Beginning at the top left corner of your drawing, measure to the first
window, door, or wall. Continue clockwise around the room until each
wall, window and door has been measured.
Note: When measuring doors and windows, the trim is
considered part of the door or window. As shown in the drawing below,
measure from the outside of the trim on one side to the outside of the
trim on the other side.
2.
Measure the ceiling height and write it in the center of your drawing.
Sometimes, especially with older homes, it is a good idea to take
measurements in a few different areas of the kitchen. Ceiling heights,
even in the same room, can sometimes vary by as much as a few inches.
3. As shown in the drawing below, measure from the
floor to the bottom of each window and also measure the overall window
height. If you have printed these instructions, write the measurements
in the table provided below.
|
|
| Window
#1 |
(inches) |
(inches) |
| Window
#2 |
(inches) |
(inches) |
| Window
#3 |
(inches) |
(inches) |
Measuring
everything else
1. Measure any obstructions such as radiators, pipes, etc.
that you either cannot or do not want moved. If the obstruction is
close to a wall, measure out from the wall to the edge of the
obstruction.
2. Measure from the second closest wall to the edge of
the obstruction.
3. If the obstruction does not span the full height of
the room, measure the height of the obstruction.
Make sure
you write down all the model numbers and dimensions of your appliances.
It is very important to read the installation instructions while
planning your kitchen design. Most appliances have certain reveal
and height
requirements
so read thoroughly!
|
Kitchen Design and Layout Choosing
the right kitchen isn't always a question of taste. Personal
preferences sometimes clash with the spatial characteristics of the
room. Not only the space available, but the shape of the room can
vary a lot, so consider all the possible
arrangements.
 Linear
arrangement Linear
arrangement
If the kitchen is very narrow, it would be
better to reserve just one wall for the working area of the kitchen.
If the furnished area seems not enough you can always increase it
vertically using practical wall or suspended units. That way the
rest of the room will remain open enough for easy
movement.
 "Railroad" arrangement-also
known as "Galley" "Railroad" arrangement-also
known as "Galley"
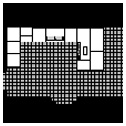
It's the same principle as the
previous example, but with the furniture built up along two parallel
walls. This arrangement is recommended when the kitchen is wide but
not particularly long: one of the walls will be dedicated to the
"working" part of the kitchen (washing and cooking areas), while the
other can become a convenient area for preparing meals. The center
of the room will stay free to permit easy movement between the two
sections (as long as extra people stay out, I grew up in a house w/
a tight galley kitchen and my mom spent a lot of time saying "Get
out of the kitchen"--I swore I would never build a house w/ that
type kitchen.
 Peninsula or Island
arrangement Peninsula or Island
arrangement
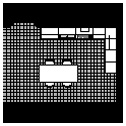
A peninsula might be the ideal choice for
anyone who wants to have an area for eating a quick snack or who
simply wants an additional place to prepare food. Whether you want
it equipped with accessories or not, a peninsula is always modern
and captivating and doesn't disrupt a classic corner arrangement:
the important thing is to leave enough space for people to pass by
easily and to sit down (a passage of 90 to 110 cm).
Availability
of space is even more important for an island: located in the center
of the room it goes well with a linear arrangement of kitchen and
amounts to a modern composition.
 Corner
arrangement Corner
arrangement
Should you decide to place the table in the
center of the room, the ideal would be to put the kitchen furniture
in the corner. This arrangement is also the best if you have a
kitchen which opens without dividing walls onto the dining or living
room. The corner where the kitchen furniture will be installed
should always be that which is opposite the dining
room.
 "Horseshoe"
arrangement "Horseshoe"
arrangement
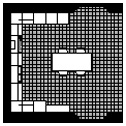
If your space is large enough to creatively
furnish without worrying about problems of dimensions, you could opt
for the three side arrangement: the table stays in the center, food
preparation and conservation are distributed to the two parallel
sides while washing and cooking share the internal
side.
|
|
